How to Enable multilingual features in SharePoint for your global teams
This is a detailed guide on how to enable multilingual features in SharePoint. It details all the things you need to do in 5 areas: Alternate languages, Multilingual Page Publishing, term sets, content types and user profiles.
In brief
Choose a site's base language carefully, and remember that enabling alternate languages does not translate page content: native page publishing creates copies for people to translate. Multilingual term labels, content-type definitions, and user profile preferences need separate configuration, including attention to inherited translations and delays before language changes appear throughout the interface.
Preparing SharePoint for a multilingual team involves five areas: alternate languages, page publishing, term sets, content types, and user profiles. This guide walks through each area so you can decide which languages to support and where to configure them.
Before you start: choose each site's base language
Plan the languages your tenant and individual sites need before provisioning them. For an existing SharePoint site, use its multilingual settings to provide additional language support.
When you create a SharePoint site, you choose its base language. The site can also support additional languages, although not every feature available in the base language is available in those languages.
For organization-wide sites, you may want to use headquarters' authoring language as the base language. For regional or country-specific sites, decide whether to require the same base language or allow each site to use a different one.
Then decide which additional languages each site needs. Review these five areas:
- Alternate languages: enable the languages needed for the site's multilingual user interface.
- Multilingual Page Publishing: configure translated pages and news. You can have a multilingual site without this feature, but it is a popular way to present pages in different languages.
- Term sets: provide multilingual labels for managed metadata and other uses. Term sets can be defined at the site or tenant level; tenant-level language settings must be configured centrally, not by individual sites.
- Content types: make content types and their columns available in the required languages through the content type gallery.
- User profiles: give users the correct language settings from the start and the ability to change them when needed.
1. Set the site's alternate languages
Every site has a base language that cannot be changed once it is set. Its alternate languages are the additional languages it supports, and these can be changed later.
- Open Site Information, then View all site settings.
- Under Site Administration, select Language settings.
- Select Show advanced settings to see the list of languages.
Review the languages actually selected on this site. Do not infer its configuration from its age; select the languages your users need.

Supporting every language creates extra work. If your users need only a handful of languages, select those rather than maintaining translations nobody will use.
Once you have set up the alternate languages, you can set up the multilingual user interface (MUI) for those languages, on a site-by-site basis. You can populate the multilingual user interface by changing your language then editing every UI element, typically hundreds of them. For a few of them, if you have Multilingual Page Publishing turned on, then there is also an alternative way to edit those localizations. That’s for another post.
2. Enable Multilingual Page Publishing
Next, decide whether to use Multilingual Page Publishing for translated pages and news posts.
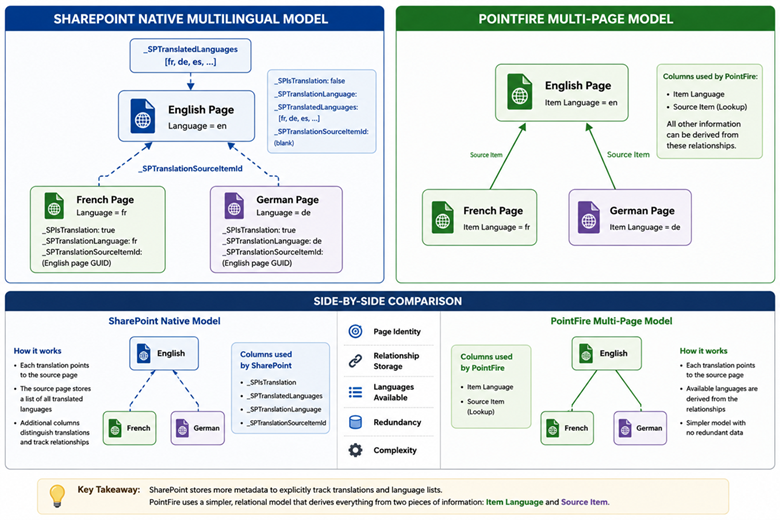
For certain types of pages like modern site pages and for news posts, you have the ability to translate them to other languages. By “translate”, Microsoft means that you’re the one doing the translating. It’s just going to copy the page and will ask you to carry out the actual translation. But you have to set up the languages that you’re going to support for that.
- Return to Language Settings under Site Administration.
- Turn on Enable translations into multiple languages, then review the site language list.
- Add the required languages and optionally assign translators for each one. Save the settings. Translator assignment does not itself grant permission to edit the site.

To request a translation, open a page in the Site Pages library and select Translation in the command bar. From there, create a copy in the language you need. SharePoint stores the copy in a language-specific folder and emails the assigned translator.

When a user comes to that site, if the page is available in their language, then, following the user’s current language settings, the page will show in that language.
The page-language dropdown lets users select a translated page. In advanced language settings, you can choose whether available translations of the site title, navigation, and footer follow the page language or the user’s Microsoft 365 preferred language.
3. Configure multilingual term sets
If you use term sets for managed metadata or other purposes, configure their languages separately:
- Open the SharePoint Admin Center and select Term store.
- Edit the top-level taxonomy to set the default language.
- Add the required working languages—the term store equivalent of alternate languages on sites.

Any term that you have within the term set will have the ability to show different texts in different languages, which is a useful feature.
To populate the term set with translations in its other working languages, edit the term set, open the Advanced tab, and select Manage under Translation.

The screenshot below shows a translation-service error encountered during this walkthrough. A retry may help, but check that translations have actually been produced before continuing.

You can also review translations if you don’t agree with them and change them. This is a feature of SharePoint out-of-the-box.
4. Localize content types and columns
If you use content types, make sure their names and descriptions—and the names and descriptions of their columns—are available in each required language when they reach a site.
That’s actually quite a difficult thing to do:
If you go to the SharePoint “Admin Center” and then the content type gallery and edit the content type, it will only edit in the current language.

Change your display language first and wait until the interface reflects it. In Microsoft 365, a display-language change can take up to 24 hours to appear in SharePoint. Then return to the admin center to review the content type, column names, and descriptions in that language.
Work from parent content types and columns down through the inheritance hierarchy so their translations can be inherited. This reduces repeated work and helps avoid synchronization overwriting translations you have already entered.
It is difficult to do it that way.
Content types created in the SharePoint admin center are stored in the content type hub at /sites/ContentTypeHub. In the workflow shown here, using its site-level interface was an easier way to work with those content types.

5. Check user language preferences
Finally, check user language settings. For SharePoint in Microsoft 365, start with the user’s Microsoft 365 display language; changing it affects that user’s experience, not everyone else’s.
In Microsoft 365, open Settings, then Change your language, and choose a display language. If the setting is unavailable or managed by your organization, ask your Microsoft 365 administrator. Allow up to 24 hours for a change to appear in SharePoint.
For SharePoint Server, Microsoft documents a fallback order: user-profile preferences, site-collection language settings, browser preferences, then the site’s default language. Do not assume that every SharePoint deployment uses the same profile settings.
SharePoint in Microsoft 365 synchronizes supported profile properties, including PreferredLanguage, from Microsoft Entra ID. Set and review those values through your organization’s account-provisioning process; synchronization times vary with the workload.
Review profile-editing permissions separately from language propagation. The default Read permission level does not include Edit Personal User Information, while Edit does. This permission allows changes to personal information; it is not a documented control for how quickly a Microsoft 365 display-language change appears.

If users cannot change their display language, have the administrator check the account and profile configuration. Confirm that the site supports the requested language before testing the result.
There's an easier way
If you use PointFire, all of this is easier. Alternate languages of the site get set when PointFire 365 is activated, and the whole multilingual user interface is populated with translations.
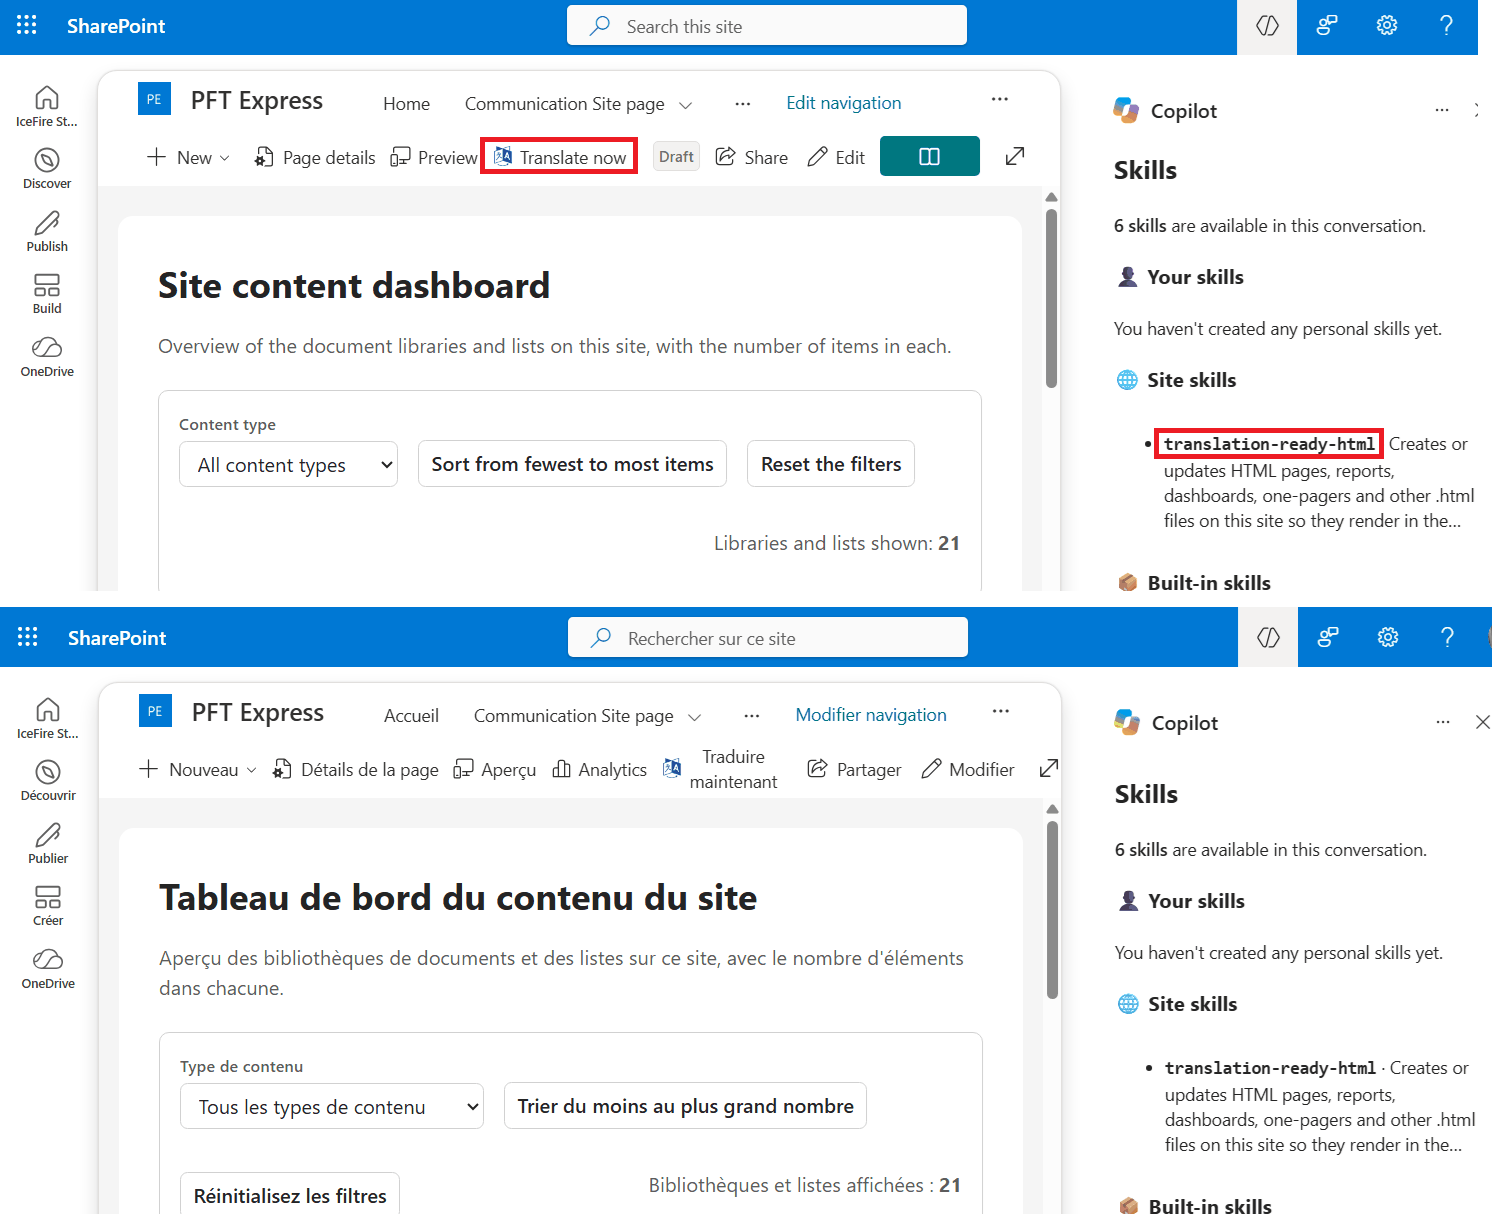
Whether you use Multilingual Page Publishing or not, PointFire Translator Express will let you translate pages, either by pressing a button, or automatically with a Power Automate Flow.
Content types and their columns get translated, either at the site level or in the content type gallery or both. It’s easy! Press some buttons and you’re done.
User profiles: PointFire 365 has its own language toggle that instantly changes your language and synchronizes with the user’s profiles. It also handles date, numeric and currency formatting, and UI language and content language always match.
I hope this helped. If you have any questions, write me at [email protected] and I'd be happy to assist.
Make multilingual SharePoint easier.
Try PointFire in your own SharePoint environment and see how it works for your team.